Pantera restoration – progress
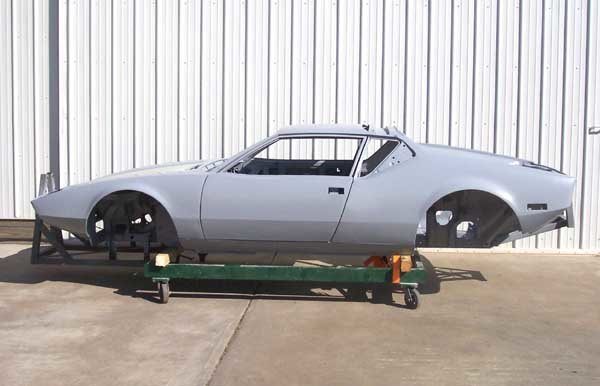
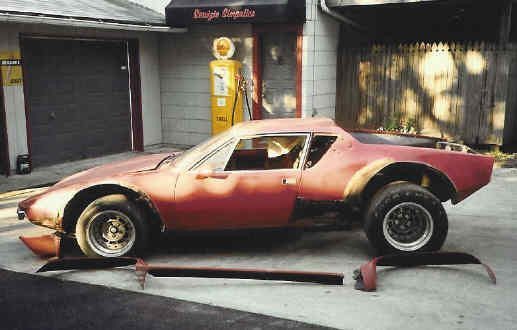
We have made considerable progress on the Pantera restoration project. New fenders, door skins, rocker panels and quarter panels have been fitted. It might seem like it should be a simple job installing all this new sheet metal. If this were a mass-produced car it would be a relatively easy task. The first fender that GM produced for, say the ’69 Camaro, was for practical purposes identical to number 10,000. Not so for the Pantera or any other hand-built exotic.
I never actually saw any of those Italian craftsmen building these cars. I have to imagine that Luigi’s fenders were maybe just a little different than Giuseppe’s. Enough so, so that one is not interchangeable with the other. Not at least without a little, or a lot of, massaging.
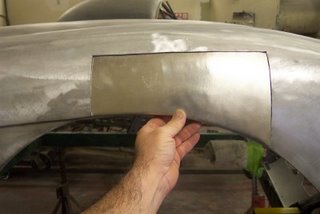
So it’s a matter of install, check fit, remove, adjust, install. Repeat this until everything lines up and gaps around the doors, hood and engine cover are uniform. The panels get held together with small sheet metal screws or preferably (and if space allows) we use clamping devices called ‘Clecos’. These are ingenious tools developed for the aviation repair industry that permit the technician to repeatedly remove and install panels without having to deal with a bunch of small screws.
When we are happy with the fit of the panels the welding begins. For the most part, MIG welding is used to attach the panels to the under-body. Where the outer surface of panels join, like where the front of the fenders meet the valance panel, gas-welding will be used.
The welds get ground down and cleaned-up. This is an important step because primer will not stick to weld ‘scale’. We took the time to media-blast almost the entire underside of the car down to bare metal. (If you recall, this car had been dipped to remove the old finish, seam sealer, rust.) We also sand off the existing primer on the new panels.
Since this is a long-term project we need to prevent rust. Two coats of epoxy primer are applied. This will protect the surface while work progresses.
The next steps will be repairing damage to the floor pans (caused mostly by improper jack placement), addressing rust at the leading edge of the hood and installing a reproduction front valance panel.

